Introduction
Setting up a thermal printer with your Chromebook laptop may seem daunting at first, but with the correct guidance, it can be a straightforward task. Chromebooks offer many features that make them a great choice for efficient and effective printing. Whether you’re using a thermal printer for business or personal needs, this guide will help you get started quickly and easily.
Understanding Thermal Printers
What is a Thermal Printer?
A thermal printer is a type of printer that uses heat to produce images on paper. Unlike traditional printers that use ink or toner, thermal printers create images by selectively heating coated thermal paper as it passes over the print head. The areas where the paper is heated turn black to form the printed image.
Advantages of Using a Thermal Printer
Thermal printers offer several advantages:
1. Speed: They print quickly and with high efficiency, perfect for high-volume needs.
2. Quality: They provide clear and crisp print quality.
3. Maintenance: There are fewer moving parts, meaning fewer potential breakdowns and lower maintenance costs.
Types of Thermal Printers
There are two primary types of thermal printers:
1. Direct Thermal Printers: These use heat-sensitive paper that darkens when heated, making them ideal for labels and receipts.
2. Thermal Transfer Printers: These use a ribbon with a special coating, which is melted onto the paper to form an image, making them suitable for more durable prints and a variety of materials.
Compatibility Check
Ensuring Your Thermal Printer is Compatible with Your Chromebook
Before starting, you need to ensure your thermal printer is compatible with your Chromebook. Most modern printers are designed to work across various operating systems, including Chrome OS. The next step is to verify this.
Checking Printer Specifications
Check the user manual or manufacturer’s website for the specifications of your thermal printer. Look for connectivity options like USB, Ethernet, or wireless capabilities which are crucial for setup.
Chromebook OS Requirements
Ensure that your Chromebook is running the latest version of Chrome OS. Regular updates include improvements and drivers that might be necessary for connecting new hardware like printers.
Initial Setup
Unboxing and Initial Preparation
Start by unboxing your thermal printer and laying out all the included components. These usually include the printer, power cord, USB cable, and installation CDs (though the latter is not needed for a Chromebook).
Connecting the Thermal Printer to Power
Plug the power cable into the printer and then into a wall outlet. Turn on the printer using the power button. Ensure the printer is situated in a stable position close to your laptop.
Connecting the Printer to Wi-Fi
For wireless models, access the printer settings menu and configure the Wi-Fi connection. Enter the network name (SSID) and password to connect the printer to your local Wi-Fi network.
Chromebook Preparation
Updating Your Chromebook
Make sure your Chromebook is up-to-date. Click on the status area, then Settings, and finally ‘About Chrome OS’ to check for updates. Ensure you are running the latest version.
Installing Necessary Apps
Some printers might require specific apps or drivers to operate. Visit the Chrome Web Store, and download any recommended apps from the printer’s manufacturer. Knowing this can save you more setup time.
Connecting Chromebook to the Same Network
If you plan to use a wireless connection, ensure your Chromebook is connected to the same Wi-Fi network as your thermal printer. This step is crucial for the devices to communicate properly.
Connecting the Thermal Printer to Chromebook
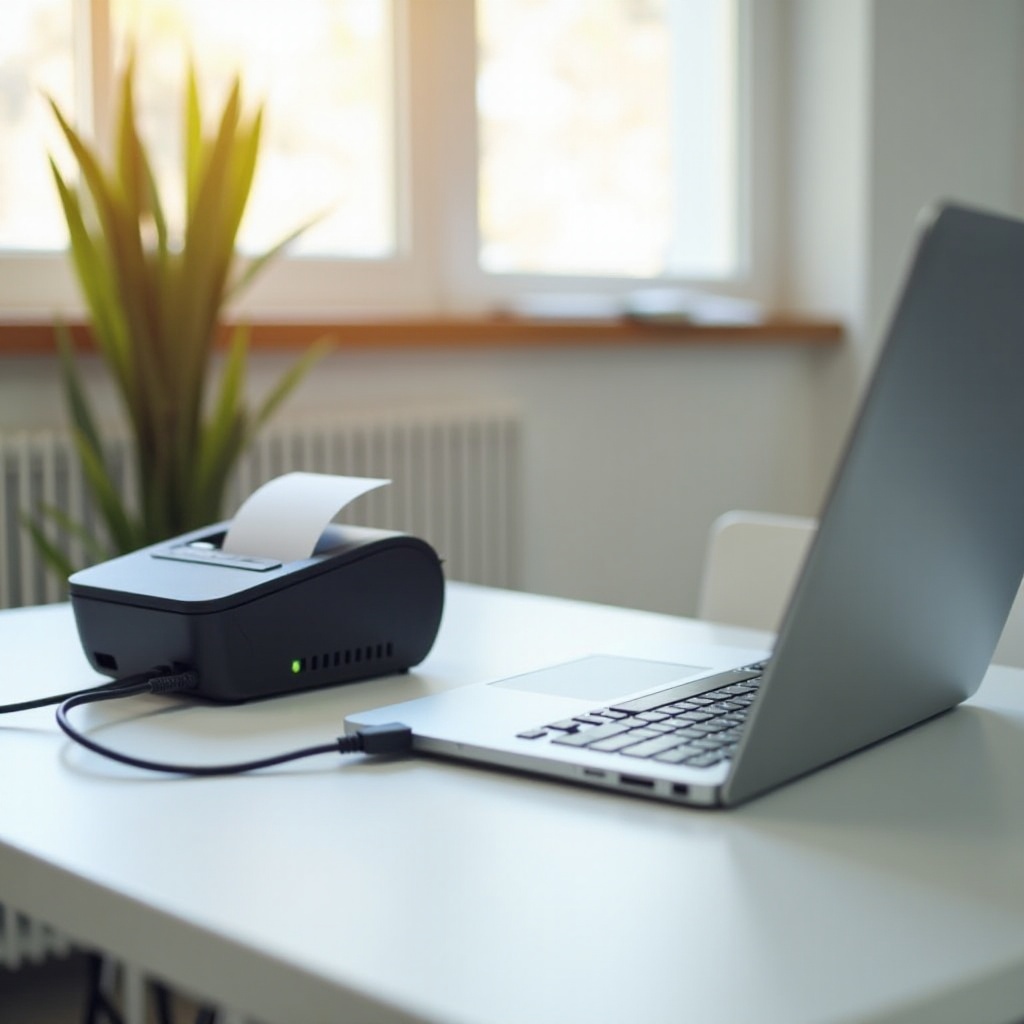
Setting Up the Printer via USB
- Connect Printer: Plug the USB cable into the printer and the Chromebook.
- Open Settings: Go to the settings menu on your Chromebook.
- Add Printer: Navigate to ‘Advanced’ and then ‘Printing.’ Click ‘Printers’ and then ‘Add Printer.
- Follow Prompts: Follow the on-screen prompts to complete the setup.
Setting Up the Printer via Wireless Connection
- Go to Settings: Open the settings menu on your Chromebook.
- Add Printer: Navigate to ‘Advanced’ and then ‘Printing.’ Click ‘Printers’ and ‘Add Printer.
- Select Printer: Your Chromebook should detect your printer if connected to the same network. Select it and follow the setup instructions.
Printing a Test Page
To ensure everything is set up correctly, print a test page. Go to ‘Settings’ > ‘Printing’ > ‘Printers,’ select your printer, and choose ‘Print a Test Page.

Troubleshooting Common Issues
Connectivity Issues
If your printer is not connecting, try the following:
– Ensure both printer and laptop are on the same Wi-Fi network.
– Restart your devices.
Printer Not Detected
If your Chromebook doesn’t detect the printer:
– Verify all cables are securely connected.
– Refer to the printer manual for network setup instructions.
Print Quality Problems
For poor print quality:
– Ensure thermal papers are correctly loaded.
– Clean the print head following the manual’s instructions.

Tips for Efficient Use
Regular Maintenance for Your Thermal Printer
Clean the print head regularly to prevent build-up and maintain print quality. Refer to your printer’s manual for specific cleaning instructions.
Maximizing Print Quality
Use high-quality thermal papers designed for your printer model. Ensure the paper isn’t old or damaged, which can affect printing quality.
Efficient Use of Printing Materials
To reduce waste:
– Optimize print settings for the specific type of tasks.
– Utilize printer’s draft mode for less critical prints.
Conclusion
Setting up a thermal printer with your Chromebook laptop can be a seamless process if you follow the steps outlined in this guide. Regular maintenance and using high-quality materials can enhance your printing experience, making it smoother and more efficient. Happy printing!
Frequently Asked Questions
What should I do if my Chromebook does not detect my thermal printer?
Ensure both devices are on the same network, and verify that the printer is turned on and properly connected. Try restarting both your Chromebook and printer.
Can I use any thermal printer with a Chromebook?
While most modern thermal printers are compatible, it’s essential to check the specifications and ensure they support Chrome OS.
How can I improve the print quality of my thermal prints?
Use high-quality thermal paper, regularly clean the print head, and ensure the paper is correctly loaded into the printer.